Why Greenhouse Humidity Control Matters for Commercial Growers
Humidity above 80% triggers fungal pressure in enclosed growing environments. Botrytis, powdery mildew, and downy mildew colonize leaf surfaces when moisture sits on plant tissue for extended periods, reducing marketable yield and forcing crop rejection at inspection. You lose revenue twice: first on the discarded plants, second on the fungicide applications that cut into margin.
Humidity doesn't distribute evenly in a greenhouse. It stratifies. Hot, saturated air rises and collects at canopy level while floor-level sensors read acceptable numbers. You get microclimates: dense foliage zones where relative humidity stays locked above 85% even when your controller says 72%. That's where the fungal pressure starts.
Grid-powered exhaust systems work, but they require electrical infrastructure many hoop houses and remote growing operations don't have. Running a new circuit to a plastic-covered frame 200 feet from the nearest junction box costs $800–1,500 depending on local permit requirements and conduit run. Then you pay the recurring utility draw — 60W continuous operation over an 8-hour ventilation window adds up across a growing season.
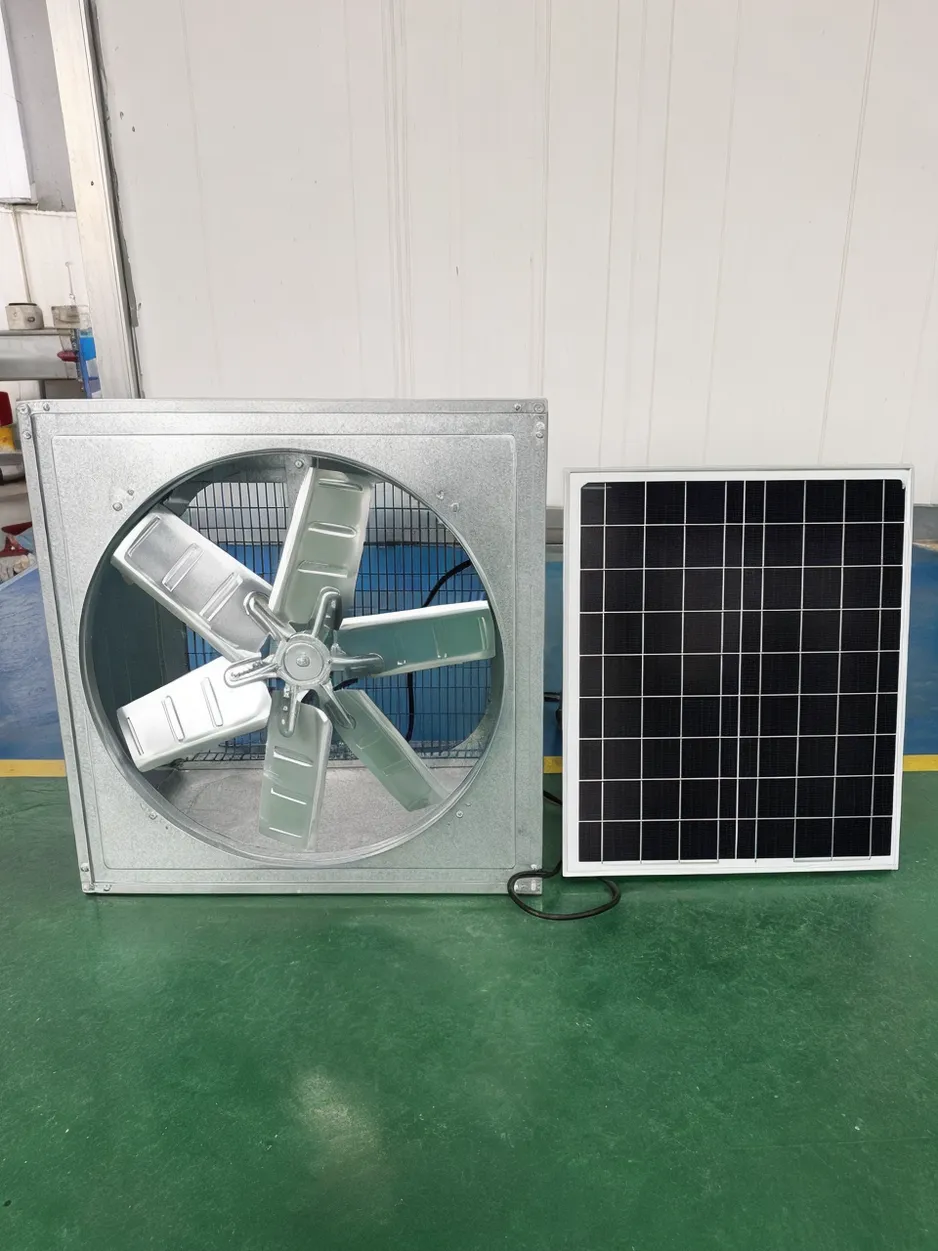
Solar exhaust fans eliminate the infrastructure cost and the recurring energy bill. The panel mounts on the greenhouse frame or roof, the fan wires directly to the panel, and airflow starts when the sun comes up (which is also when greenhouse temperature and humidity start climbing). For greenhouse operators running 10+ structures or distributors supplying controlled-environment agriculture equipment, that's a margin opportunity: the product you're reselling has zero operating cost for the buyer and no electrician involvement.
This is crop loss prevention, not a comfort upgrade. You're solving a yield problem that shows up as rejected flats, delayed harvest windows, and fungicide expense. Size the fan correctly, place it where stratified air actually exits the structure, and you eliminate the microclimates where pathogens establish.
CFM Sizing Formula for Greenhouse Volume and Crop Heat Load
Start with the base formula: greenhouse volume in cubic feet, multiplied by air changes per hour, divided by 60 to convert to cubic feet per minute. That gives you the minimum CFM your fan needs to deliver.
Air changes per hour depend on crop metabolic activity. Leafy greens — lettuce, spinach, herbs — generate less metabolic heat and transpire less moisture, so 1.0–1.5 ACH handles them. Fruiting crops — tomatoes, peppers, cucumbers — run hotter and release more water vapor through transpiration, so you need 1.5–2.0 ACH to maintain air turnover.
Crop heat load adjustment comes next. Dense canopy planting or high-growth-rate phases increase the required CFM by 15–25% over the base calculation. A greenhouse packed with mature tomato vines in full fruit generates more heat and humidity than the same space filled with young transplants, so your fan needs to account for peak load conditions.
Here's a worked example. You have a 12' × 24' × 8' greenhouse — that's 2,304 cubic feet. You're growing tomatoes, so you target 1.75 ACH. Multiply 2,304 by 1.75, divide by 60, and you get 67 CFM minimum. Add 20% for dense canopy load and you're at 80 CFM target capacity.
Now translate that to solar fan wattage. A 10W panel typically delivers 40–50 CFM under full sun. A 20W panel delivers 80–100 CFM. A 30W panel delivers 120–150 CFM. For the example greenhouse above, you need a 20W unit to meet the 80 CFM target.
Undersizing has a specific failure mode: the fan runs continuously but never achieves effective air turnover. Humidity pockets persist because the exhaust rate is lower than the moisture generation rate. You end up with a fan that's working but not solving the problem. The CFM number isn't aspirational — it's the minimum threshold for the physics of the space to work in your favor.

Fan Placement Mechanics: Inlet and Outlet Positioning
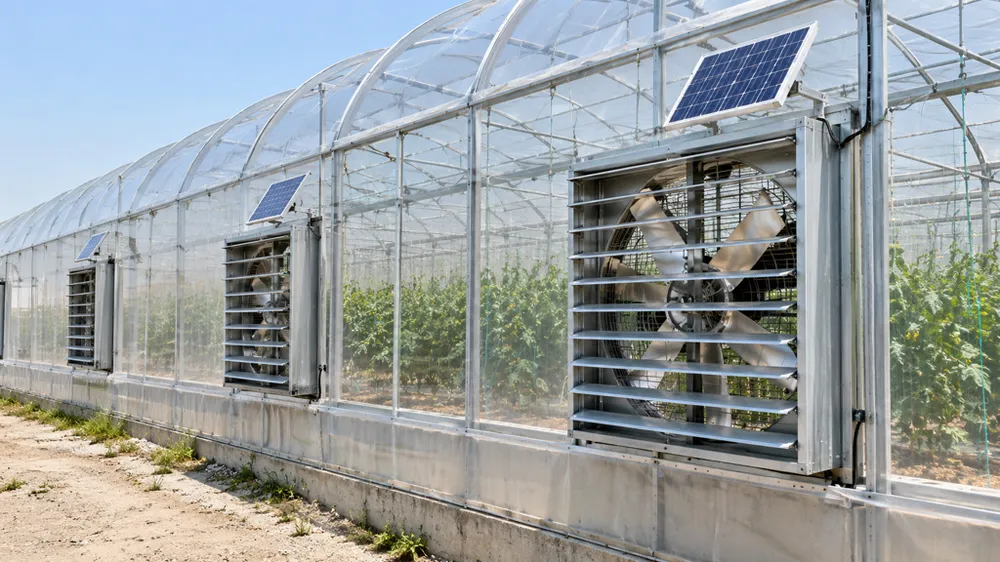
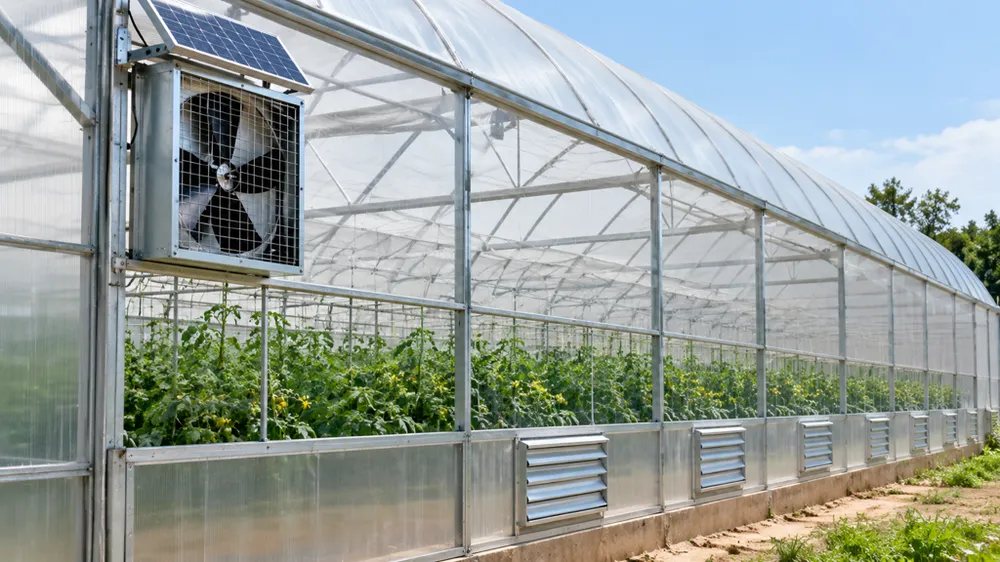
Hot, humid air rises. That's not a design principle — it's thermodynamics. Your exhaust fan needs to be high in the structure where the saturated air actually collects. Mount it at the ridge line or gable end, as close to the peak as the fan housing dimensions allow. If you place it mid-wall or low, you're pulling from the wrong air mass. The humid layer stays trapped at the top while you ventilate cooler, drier air from the middle of the space.
Leeward side placement matters when your greenhouse has a prevailing wind direction. Mount the exhaust fan on the side sheltered from wind. That prevents backpressure when gusts hit the fan outlet, which reduces effective airflow and can stall the motor intermittently.
The passive inlet goes low and on the opposite side — windward if possible. This creates a vertical airflow path through the entire greenhouse volume. Cool, dry air enters at ground level, warms and picks up moisture as it rises through the crop canopy, and exits through the high-mounted fan. That's cross-ventilation with a vertical component, and it's the only geometry that addresses humidity stratification.
Diagonal placement is the longest airflow path you can create in a rectangular structure. Inlet at one end low, exhaust at the opposite end high. Air travels the full length of the greenhouse before exiting, so you get maximum contact time between moving air and plant surfaces. Short-circuit paths — inlet and outlet on the same wall or too close together — leave dead zones where air doesn't circulate.
Multiple fans require staggered placement. Don't put two exhaust fans on the same wall at the same height. You'll create a bypass path where air flows directly from one fan to the other without circulating through the rest of the space. Stagger them by height and by side. One high on the north wall, one mid-height on the south wall, each with a diagonal inlet path.
The common error we see: growers mount the fan mid-wall because that's where the framing member is convenient, or they place it low because they don't want to reach up for filter cleaning. That convenience costs them the stratified humid layer that's causing the actual crop problem. The fan housing needs to be in the top 15–20% of the greenhouse height, even if that means custom framing support.
IP rating becomes relevant when you understand the greenhouse environment: condensing humidity on all surfaces during night-to-day temperature swings, water splash from overhead irrigation, and occasional direct spray when cleaning. IP65 is the minimum — dust-tight and protected against water jets from any direction. IP67 adds temporary immersion protection, which matters if your fan is ground-mounted or you're in a flood-prone area. We test every production batch to ingress protection rating in our on-site lab before shipment, because a housing that fails waterproof integrity after one season is a warranty return you don't want to process and a buyer relationship we don't want to lose.
Wattage vs. Airflow vs. Panel Size: Spec Comparison for Common Greenhouse Sizes
Solar fan specs come in three linked parameters: panel wattage, airflow delivery in CFM, and physical panel dimensions. You need to match all three to your greenhouse volume and available mounting space.
| Wattage | CFM Range | Panel Size | Greenhouse Volume | Typical Application |
|---|---|---|---|---|
| 10W | 40–50 | 17" × 13" | <2,500 cu ft | Small hoop house, single-zone growing |
| 20W | 80–100 | 24" × 18" | 2,500–5,000 cu ft | Mid-size greenhouse, mixed crops |
| 30W | 120–150 | 30" × 20" | 5,000–8,000 cu ft | Commercial growing operation, high-density planting |
The 10W tier suits small hoop houses and single-zone growing setups under 2,500 cubic feet. An 8' × 10' × 8' structure is 640 cubic feet, well within the 10W capacity. The panel is compact — 17" × 13" — so it mounts easily on a lightweight frame without adding structural load concerns. CFM delivery is 40–50 under full sun, enough for leafy greens or herbs at standard planting density.
The 20W tier covers mid-size greenhouses from 2,500 to 5,000 cubic feet. A 12' × 20' × 8' structure is 1,920 cubic feet, and you want 1.5 ACH for mixed crops — that's 48 CFM base requirement, plus 20% for canopy load, so 58 CFM target. The 20W fan delivers 80–100 CFM, giving you comfortable headroom. Panel size goes up to 24" × 18", which still mounts on standard greenhouse framing without custom brackets.
The 30W tier is for commercial operations running 5,000–8,000 cubic feet with high-density planting. A 16' × 24' × 10' greenhouse is 3,840 cubic feet. Tomatoes at full canopy need 2.0 ACH with a 25% heat load adjustment, so you're targeting 160 CFM. The 30W fan delivers 120–150 CFM — close enough that you'd consider two units or accept slightly longer air turnover time. The 30" × 20" panel requires more substantial roof or wall framing, but by the time you're operating at this scale you're already dealing with engineered structures.
Runtime varies with wattage and daily solar availability. A 10W fan peaks at 6–8 hours under direct sun, tapering off as the sun angle drops. A 20W or 30W fan sustains output later into the afternoon and handles partial cloud cover better because the higher wattage panel generates enough voltage to keep the motor turning even when insolation drops to 60–70% of peak. That extended runtime matters if your greenhouse starts heating up mid-morning and doesn't cool until evening — you need the fan running through the entire thermal load window, not just the 4-hour midday peak.
Oversizing by 20–30% is acceptable insurance. If your CFM calculation says you need 65 CFM and you install an 80 CFM unit, you're not wasting capacity — you're covering unexpected heat load spikes, cloudy stretches that reduce fan output, or future crop changes that shift you from leafy greens to fruiting crops. Undersizing by even 10% puts you below the air turnover threshold and the humidity problem persists.
IP Rating and Housing Durability for High-Humidity Environments
Greenhouse interiors run sustained relative humidity above 70%, with condensation forming on any surface cooler than the air temperature. When morning sun hits the structure after a cool night, you get water droplets on the glazing, the framing, and the fan housing. Add overhead irrigation — misting systems or drip lines that occasionally mist when pressure spikes — and you have direct water exposure on electrical components. That's not an outdoor lighting environment where rain is intermittent. It's a continuously humid enclosure with periodic water spray.
IP65 rating means dust-tight and protected against water jets from any direction. That's the minimum for greenhouse exhaust fan housing. The gasket seals around the motor compartment and electrical connections keep condensation from reaching the circuit board. The fan blade hub is sealed so water droplets don't migrate into the bearing housing. We test IP65 compliance by subjecting the assembled unit to a 6.3mm nozzle spray at 12.5 liters per minute from 3 meters distance for 3 minutes. If any water ingress is detected during post-test inspection, the batch fails and we trace back to the gasket supplier or the assembly torque spec that wasn't followed.
IP67 adds temporary immersion protection — submersion under 1 meter of water for 30 minutes. That's relevant for ground-level fan installations in flood-prone areas or for growers who pressure-wash the greenhouse interior at the end of each crop cycle. The additional sealing requires a different housing design with double O-rings and a membrane vent to equalize internal pressure without allowing moisture ingress. It adds $8–12 to unit cost, so we only recommend it when the buyer's operating environment justifies it.
Housing material affects service life in UV-saturated environments. Greenhouse glazing transmits UV, so any fan mounted inside is exposed to UV radiation that degrades standard ABS plastic within 18–24 months — surface chalking and then stress cracking around screw bosses. We use UV-stabilized polycarbonate with a 0.3% UV absorber additive. That extends outdoor service life to 5+ years without visible degradation. The additive costs $2.40 per kg and adds 6 seconds to injection molding cycle time, but the alternative is a housing that cracks apart during the warranty period.
Motor seal integrity determines whether the fan survives the humid environment. We use brushless DC motors with sealed bearing housings — a double-lip seal on the shaft where it enters the rotor housing, and a hermetically sealed driver circuit board inside the motor body. The bearing seal prevents moisture from reaching the bearing grease, which would emulsify and lose its lubrication properties. The sealed circuit board keeps condensation off the MOSFET drivers that control motor commutation. A standard open-frame motor would corrode within 6 months in a greenhouse; the sealed version runs for 5+ years because the failure mechanisms are physically blocked.
Operating Cost Comparison: Solar vs. Grid-Powered Exhaust
A grid-powered 60W exhaust fan running 8 hours per day over a 180-day growing season consumes 86.4 kWh. At $0.12/kWh residential rate, that's $10.37 per season in recurring energy cost. Multiply by 10 structures and you're at $103.70 annually — not a large absolute number, but it's recurring and it scales linearly with the number of greenhouses you operate.
Solar exhaust eliminates that recurring cost entirely. You pay once for the fan and panel assembly, then you have zero energy cost for the service life of the unit. Amortize a $95 landed cost over a 5-year service life and you're at $19 per year, which is close to break-even with grid power on energy cost alone.
The real cost difference is electrical infrastructure. Running a new circuit to a remote hoop house involves trench work, conduit, wire, a weatherproof junction box, and permit fees if the local authority requires it. Material cost is $150–300 depending on distance from the existing panel. Labor is 4–6 hours for an electrician, so $300–600 depending on regional rates. Permit and inspection fees add another $100–200 in jurisdictions that enforce electrical code on agricultural structures. Total installed cost: $550–1,100 for a single circuit to one greenhouse.
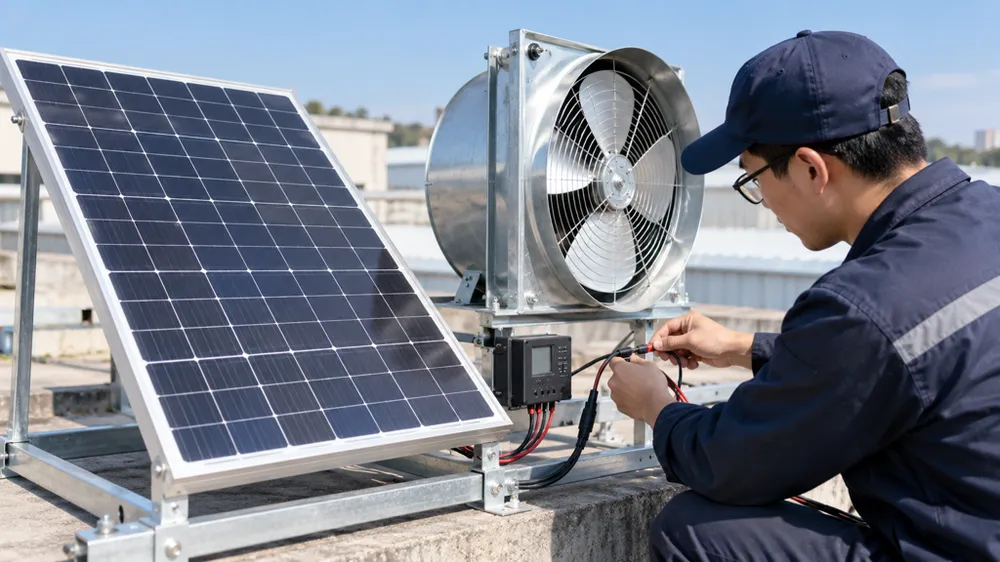
Solar fan installation is mechanical mounting only. Drill four holes in the greenhouse frame, bolt the fan housing in place, run two wires from the panel to the fan (no conduit required because it's low-voltage DC), and it's operational. One person, 30 minutes, no permit, no electrician. You avoid the entire infrastructure cost, which shifts the payback calculation heavily in favor of solar for any site without existing electrical service at the greenhouse location.
Margin implication for distributors: a 20W solar exhaust fan has a typical landed cost of $80–120 depending on order volume and shipping method. Retail pricing to greenhouse operators runs $180–240, which is a 50–60% margin on a product your buyer can't buy locally and doesn't want to import themselves in single-unit quantities. Compare that to a grid-powered fan at $40–60 wholesale, $90–120 retail — lower absolute margin and it requires your buyer to hire an electrician, which creates a sales objection you have to overcome. The solar fan is a cleaner sale because it's a complete solution with no installation dependencies.
Commercial greenhouse operators making repeat purchases often standardize on one fan specification across all their structures. That simplifies inventory (one SKU for replacement parts), reduces training load (maintenance staff knows one fan model), and consolidates warranty tracking (same failure modes, same supplier contact). When they reorder 15 units at once, you're not making 15 individual sales — you're supplying an installation standard for an expanding operation. That's recurring revenue with no re-qualification cycle.
OEM/ODM for Greenhouse Equipment Brands and Distributors
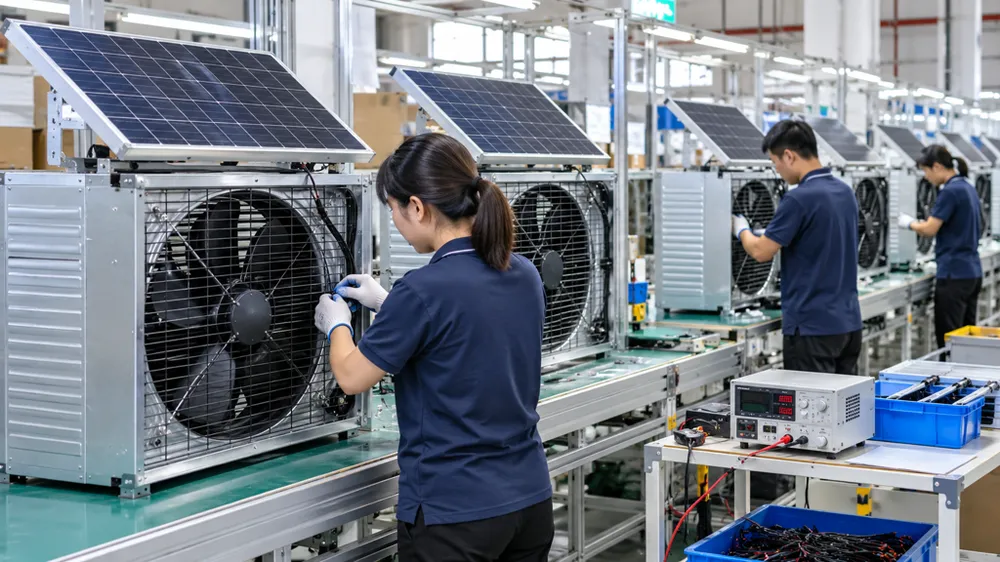
The target buyer here is a greenhouse equipment distributor or a controlled-environment agriculture brand looking to add solar exhaust fans to their catalog without building their own manufacturing capability. You already sell shade cloth, misting systems, benching, or climate controllers. Your customers are asking if you carry ventilation fans. You can source from a trading company that buys from three different suppliers depending on who has stock, or you can place an order directly with the factory that makes the product.
OEM lets you private-label the fan unit with your branding. We remove the JXSOL logo from the housing mold and apply your brand label to the motor housing and packaging. Custom CFM tuning is available for specific crop profiles — if you're selling primarily to berry growers who need higher air turnover than the standard tomato greenhouse, we can adjust the fan blade pitch and motor controller parameters to shift the airflow curve. That requires 500-unit MOQ because it's a custom motor spec and we need to amortize the controller firmware revision across the batch.
Standard wattage tiers (10W, 20W, 30W) have 100-unit MOQ. That's the threshold where we can run a dedicated production batch with your packaging and label spec without disrupting the standard production schedule. Below 100 units, you're buying from stock with JXSOL branding because the setup cost for custom labels doesn't make sense at 30–50 unit volumes.
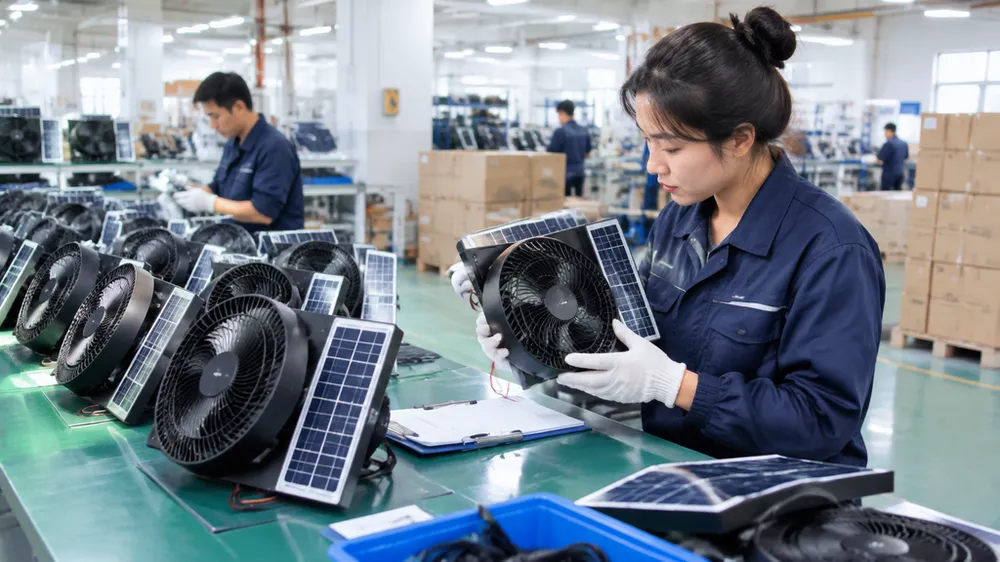
Batch consistency matters when you're placing repeat orders across multiple growing sites. Your buyer operates 40 greenhouses and wants to install one fan per structure. They order 40 units now, then 20 more next year when they expand, then another 30 the year after that. If unit-to-unit CFM variation is 15–20%, some structures get adequate ventilation and others don't, and your buyer starts getting inconsistent crop outcomes they can't explain. We hold CFM variation under 5% by testing every unit on a calibrated airflow bench before it ships. The test cycle adds 45 seconds per unit to production time, but it's the only way to guarantee that unit 1 and unit 100 in the same batch perform identically in the field.
IP rating verification happens at the production batch level, not as a one-time certification. We pull 3 units from every 500-unit batch and run the full IP65 water jet test in our on-site lab. If one unit fails, we hold the batch, identify the failure mode (usually gasket material variation or undertorqued housing screws), correct it, and retest before shipment. That documentation is available for buyer QC audit if your downstream customer requires it — we're not asking you to trust the spec sheet, we're showing you the test data from your specific batch.
Delivery timeline is 25–30 days for standard spec orders under 1,000 units. That includes 5–7 days for raw material procurement (polycarbonate resin, motor stators, solar cells), 10–12 days for injection molding and motor assembly, 3–4 days for electrical testing and CFM calibration, and 5–7 days for packaging and container loading. Custom motor spec or housing tooling adds 15–20 days to the front end because we need to revise the injection mold cavity or order a custom motor stator winding from our sub-supplier.
Warranty support is 3 years on motor and housing. We stock replacement parts (motor assemblies, fan blades, solar panels, gasket kits) for any product we've shipped in the last 5 years. When your buyer has a field failure, you contact us with the serial number, we identify the production batch and failure mode, and we ship the replacement part within 3 business days. You're not managing a warranty process with multiple suppliers — it's one factory contact for the entire service life of the product.
JXSOL positions as the factory relationship for greenhouse equipment buyers who need reorder reliability and technical support, not one-time sourcing through trading companies. You're building a catalog of products you can restock predictably. We're building a supplier base of distributors who order 200–500 units per year across multiple product lines. That's a commercial relationship with mutual dependency, which is the only kind that survives when your buyer has a container-load problem on the water and needs a factory to solve it before it reaches port.